Why Use a Wallpaper Primer?
The last thing you want is for your wallpaper to start peeling off before it has served its purpose. By understanding the common issues that can lead to installation failures, you can take proactive measures. The two primary causes of wallpaper issues are inadequate adhesive and improper application.
While installation techniques deserve their own discussion, let’s focus on adhesive problems. Wallpaper adhesives are typically water-based, and unprimed walls tend to absorb the moisture from the adhesive before it can properly bond with the wallpaper.
To illustrate, think about painting an unprimed wall for the first time; the initial coat rarely covers effectively because the wall absorbs most of the paint. A second coat then provides the desired coverage because the surface is no longer absorbing moisture, allowing the paint to adhere to itself rather than the wall.
The same principle applies when using wallpaper adhesive. If your wall isn’t properly primed, it will soak up too much moisture, causing the wallpaper to have issues sticking properly, and eventually start to lift away.
There are three key reasons to prime your walls before hanging wallpaper:
- Sealing the wall.
- Providing a suitable surface for the wallpaper adhesive to bond with.
- Facilitating easier removal of the wallpaper when the time comes.
By sealing or priming your walls, the adhesive will attach to the primer rather than the underlying surface. Another advantage of using a primer is that it simplifies the removal process. If you’ve ever tried to strip off old wallpaper only to find it stubbornly stuck to the wall, it’s likely because the wall wasn’t properly primed in the first place.
What Type of Wall Surface Are You Covering?
Wallpaper can be applied to almost any surface, but the preparation needed will differ based on the wall condition:
- Are you wallpapering over old walls that have been patched with joint compound?
- Is it a new build with unpainted or freshly painted drywall?
- Are the walls a few years old but still have good paint on them?
- Are you applying wallpaper over non-porous surfaces like glass or tiles?
For each scenario, there’s a specific wallpaper primer that works best. Some brands might suggest a one-size-fits-all primer, but different surfaces require tailored solutions.

Different Types of Wallpaper Primers
The type of adhesive will vary depending on the wallpaper you choose, but primers are designed for optimal results based on the wall surface. Milton & King’s range of non-woven wallpapers is primarily installed using the paste-the-wall method, so the primer must address the specific conditions of the wall for effective adhesion.
Here are some recommendations based on different wall types:
- For older walls with repairs: Use a primer that seals and locks down porous surfaces, such as skim coats or joint mud. Roman Products PRO-999 Rx-35 is an excellent option, also suitable for covering contractor-grade flat paint and popcorn ceilings.
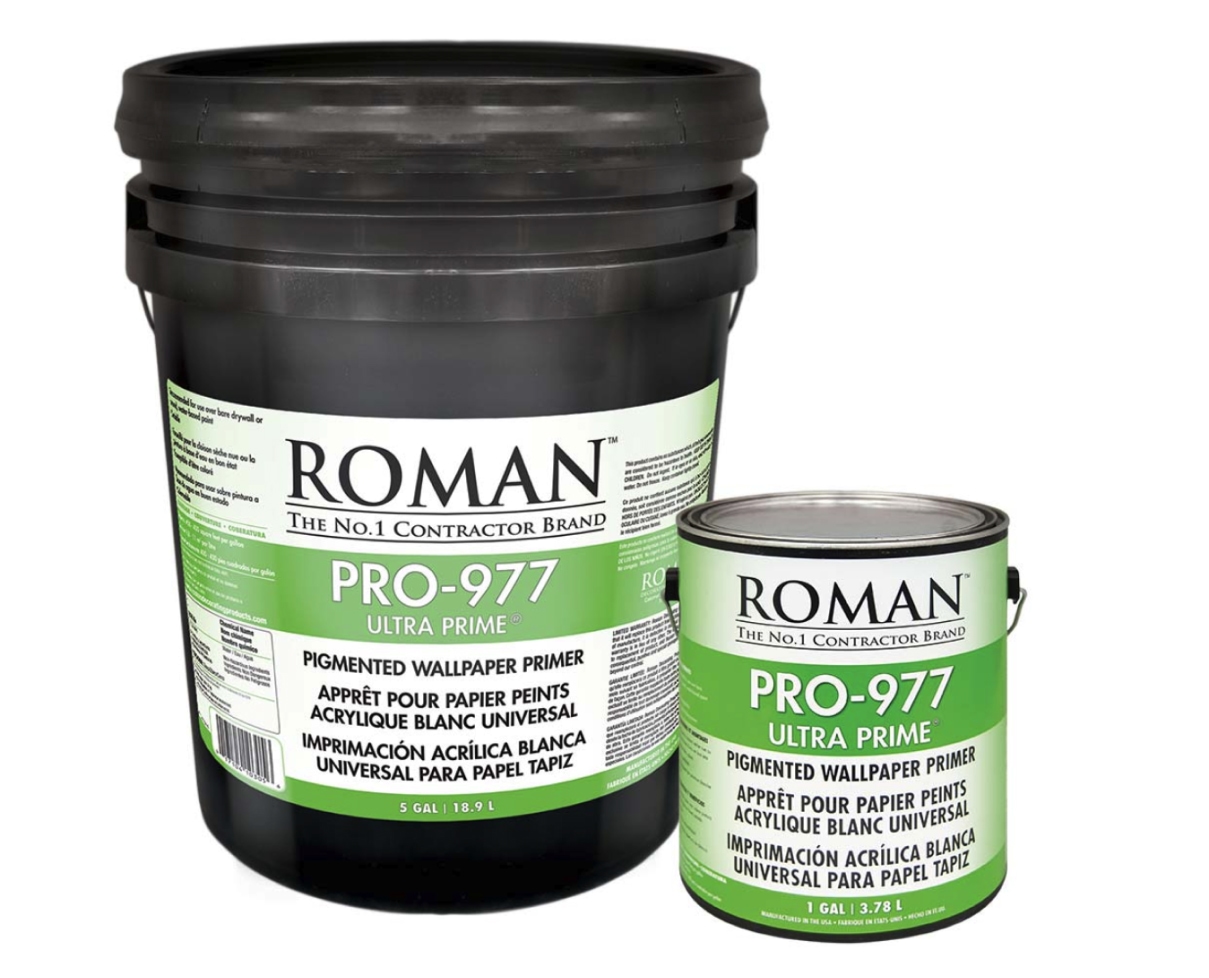
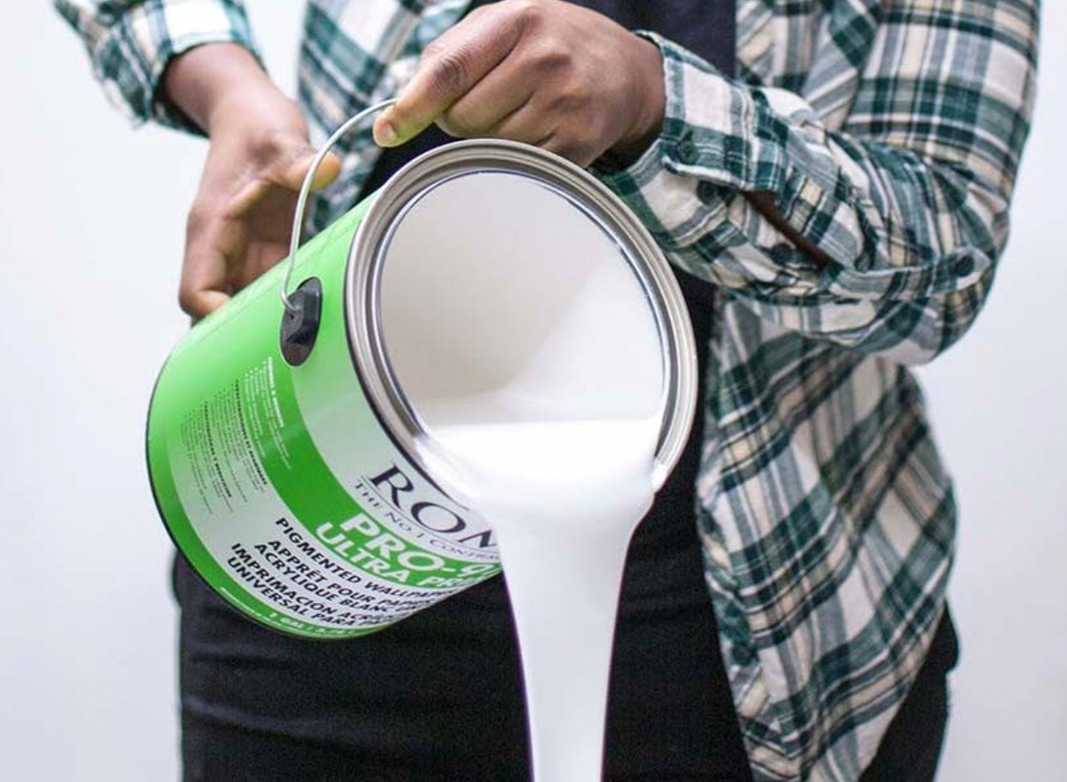
- For new drywall and well-painted surfaces: A pigment-based primer like Roman’s PRO-977 Ultra Prime is ideal. It seals the drywall and prepares the surface for adhesive application, preventing bare drywall from absorbing too much moisture.
- For newer walls with sound paint: A clear acrylic general-purpose primer like Roman PRO-909 works well when prepping for vinyl wallpaper. If the wallpaper matches the existing paint, tinting is unnecessary.
- For non-porous surfaces like glass or tile: Opt for an adhesion-promoting primer such as Roman PRO-935 R-35. This type of primer helps the wallpaper paste adhere to the primer rather than slipping off the smooth surface.
Lastly, ensure that any wallpaper primer you select contains a biocide to resist mould and mildew growth.
Starting off right can lead to a successful outcome, and using the appropriate wallpaper primer for your specific surface will save you both time and money. It will provide a smoother installation process and make future removal much easier when the time comes.
