


Make the Wall Smooth
The first step in preparing your wall is to ensure that it’s smooth. Begin by removing any hooks, nails, or light switch covers, which will likely leave small holes or raised areas. Any bumps or craters on the wall could show through the wallpaper, affecting the final appearance of the design. To address this, fill in any gaps with spackle and sand down any raised sections to create an even surface. In most cases, a light texture won’t pose too much of a problem, but more pronounced textures should be smoothed. A flatter wall ensures the wallpaper adheres properly across the entire surface, helping to prevent lifting and reducing moisture build-up behind the paper, which could otherwise lead to mould.

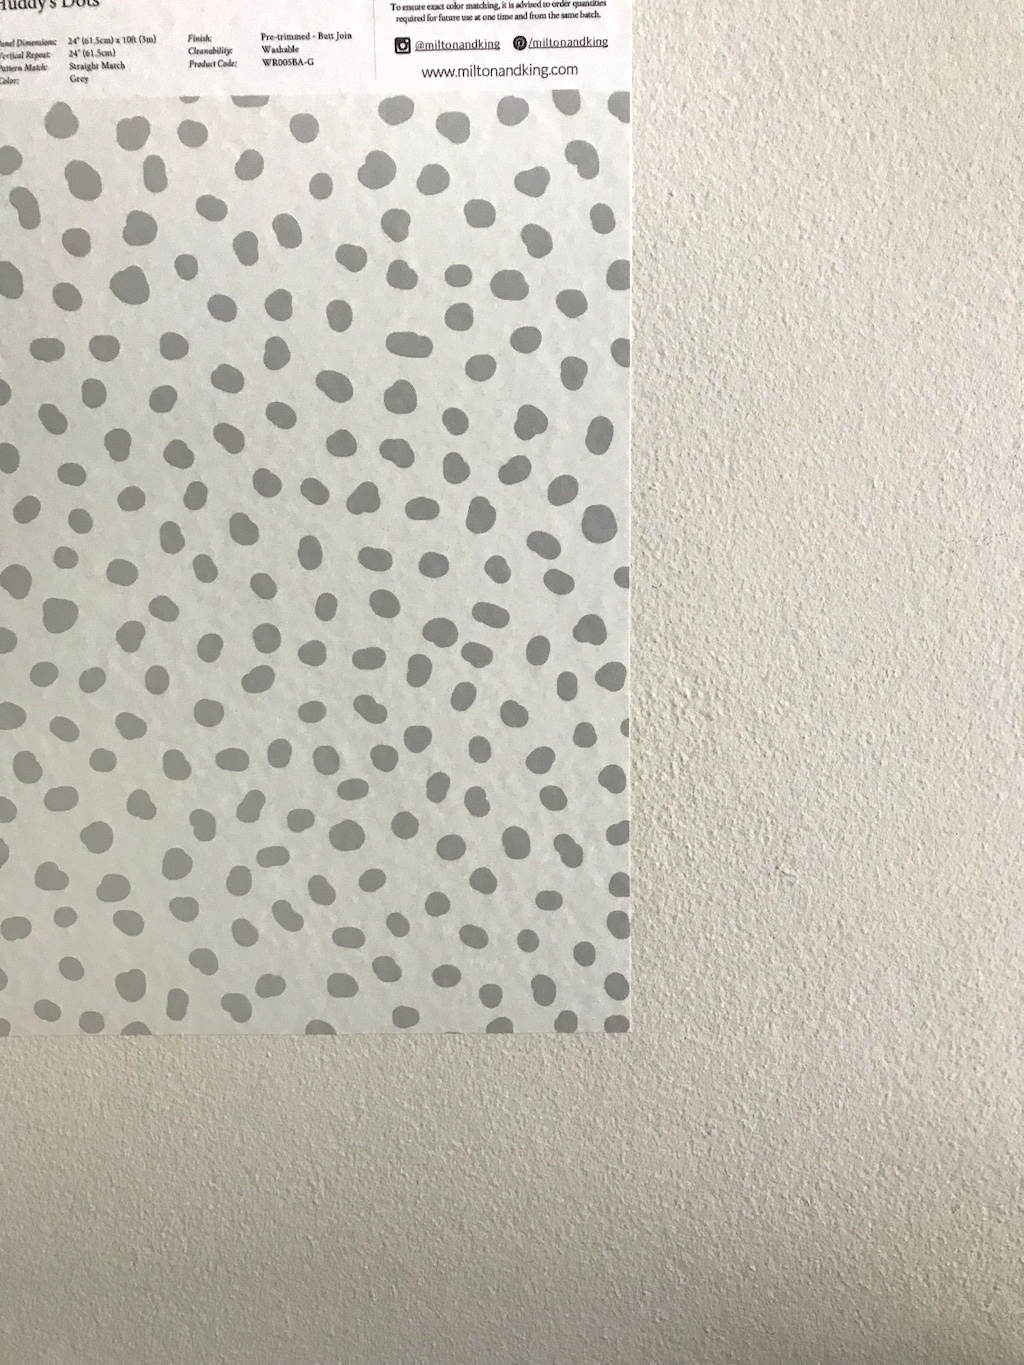
Lighter wallpapers, especially those with white or pale backgrounds, can sometimes reveal the texture of the wall beneath. Darker wallpapers tend to conceal imperfections more effectively. For example, Traci Sheppard from Phoenix and the Ocean tested a sample of the Huddy’s Dots design over a painted concrete wall. Though the texture was visible in some areas, it wasn’t enough to stop her from proceeding with her wallpaper project.
Your wallpaper will look its best on a flat surface. You can achieve this by using a method called “mudding,” where a skim coat of joint compound is applied to the wall. Once dry, sand it smooth and finish with a primer. You can find more details about textured walls and how to prepare them for wallpaper in our blog titled “What To Know About Textured Walls & Wallpaper.”
Clean the Wall
The next step is to clean the wall. This should be done not only at the start of your preparation but again shortly before you install the wallpaper. After sanding the wall, there will be fine dust particles that you don’t want to seal in under paint or wallpaper. For a thorough first clean, use sugar soap or trisodium phosphate (TSP) to remove grease or other build-ups. If the wall is already painted, a mixture of warm water and vinegar will suffice. Then, around 24 to 48 hours before installing the wallpaper, go over the wall once more with a soft, damp cloth to remove any residual dust. Thanks to Bud from White Sparrow Farm, we’ve got a perfect example of how to do this step effectively.
Paint & Primer
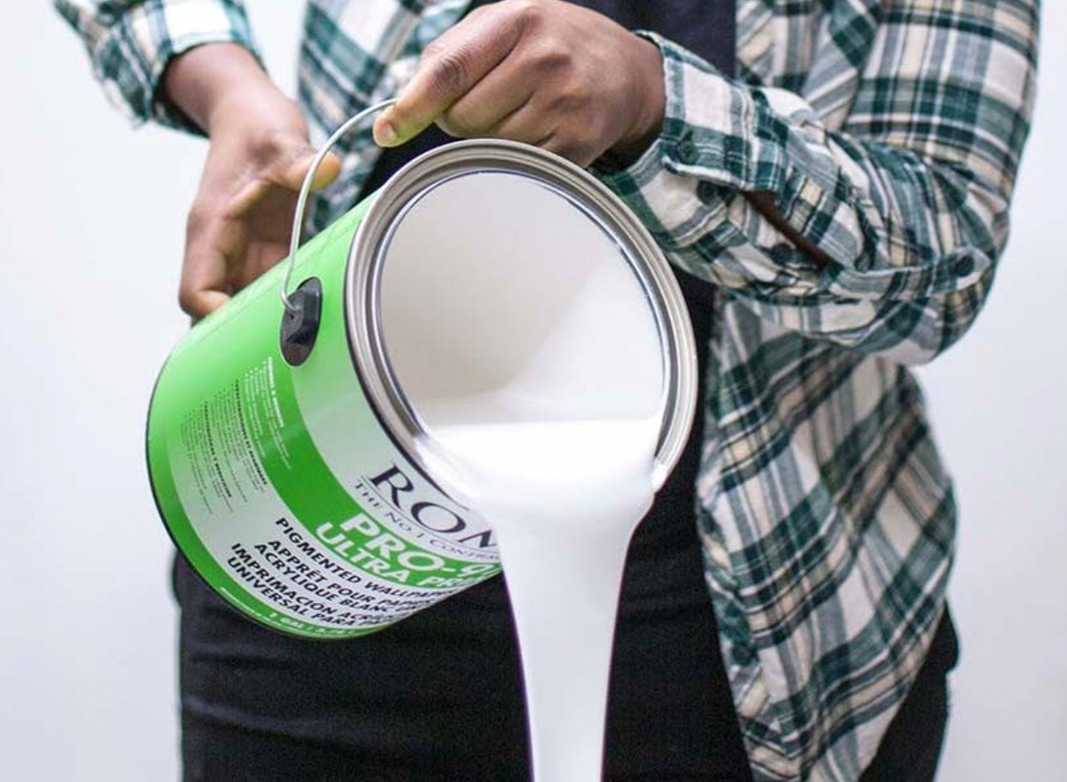
The type of paint on the wall can either help or hinder your wallpaper installation. Eggshell, satin, or semi-gloss finishes generally work best. Avoid applying wallpaper directly to latex paint, as it can tear when removing the wallpaper in the future. Likewise, installing wallpaper directly on drywall is not advisable, as the wall will absorb the paste, leaving less adhesive for the wallpaper itself. Applying a primer seals the wall, ensuring the paste remains on the surface.
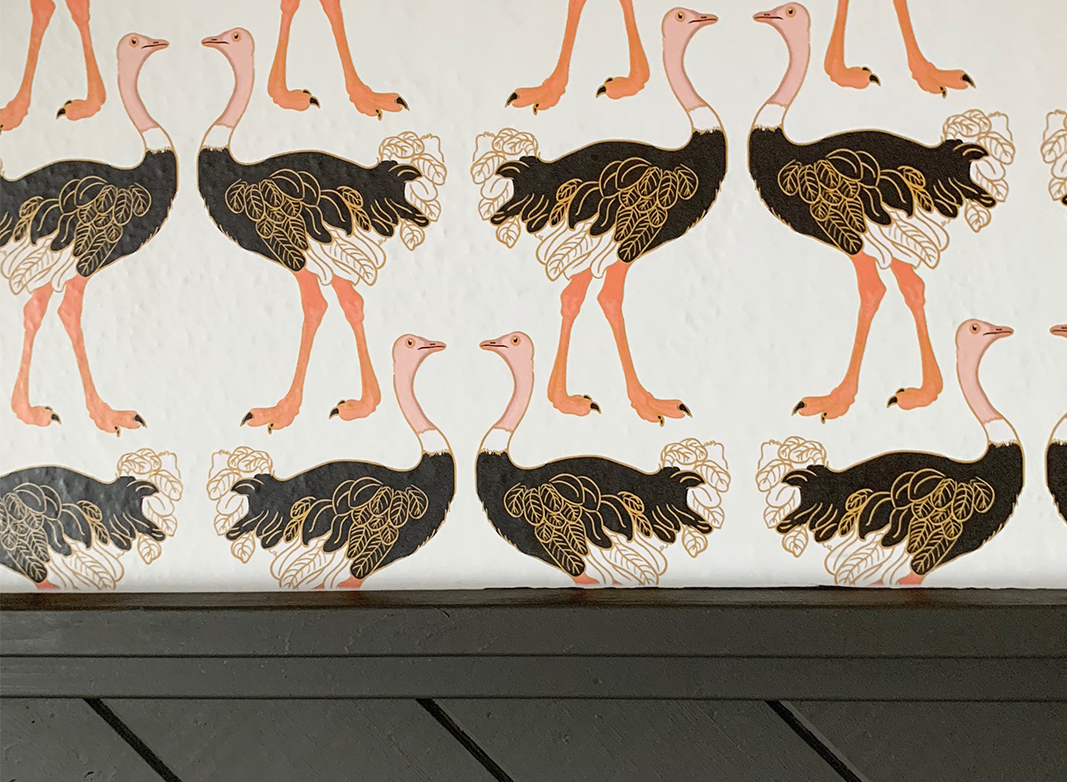
Primers are typically white, which works well for lighter-coloured wallpaper. However, Milton & King wallpaper uses a butt-join method, meaning the seams meet perfectly without overlapping. In case your installation isn’t flawless (and let’s be honest, who’s perfect?), it’s wise to paint or prime your wall in a shade similar to your wallpaper. For dark wallpapers, a white wall underneath could create visible seams. To avoid this, ask your hardware store to tint your primer in a shade that is closer to wallpaper’s background colour.
If you’re wallpapering over a freshly painted wall, wait at least 30 days for the paint to fully cure before starting. However, primer dries quickly, so you’ll only need to wait a day or two before applying wallpaper.
Moisture Concerns
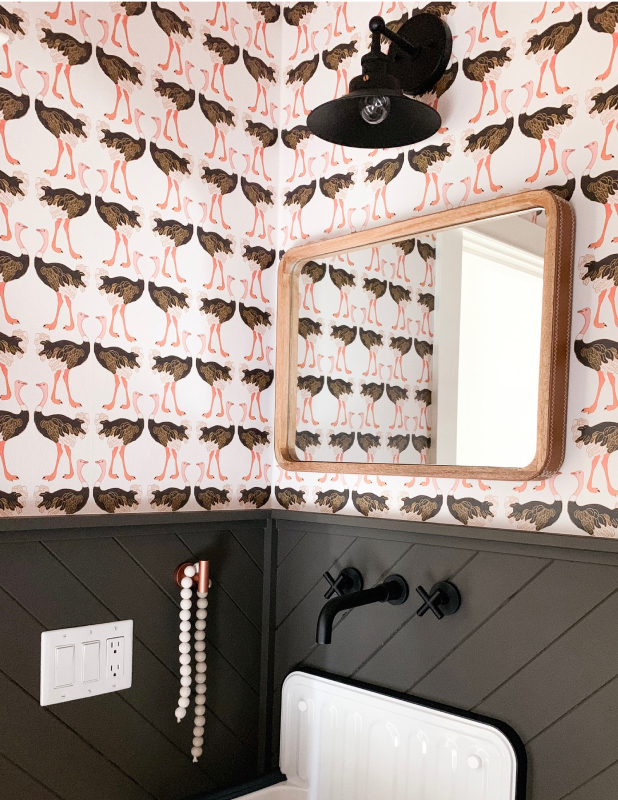
Many people ask, “Can I put wallpaper in the bathroom?” It depends. Every bathroom is different, and the answer varies depending on whether you’re referring to a space with just a toilet or one with a shower. The level of moisture will determine how well the wallpaper adheres and what preparation is necessary.
Non-woven wallpaper is breathable, making it suitable for areas with normal humidity. While it can handle everyday bathroom moisture, it’s not designed to be in direct contact with water. If it does get wet, dry it immediately with a soft cloth. Sitting water could weaken the paste over time and cause the wallpaper to lift. If your bathroom is an extreme environment where walls often get soaked, you might need to waterproof the wallpaper. You can learn more about this process on our blog, “Waterproofing Your Wallpaper.” Just remember, once waterproofed, wallpaper loses its breathability and becomes harder to remove. In such cases, use a mould-inhibiting paste. But under regular conditions, as long as the bathroom is ventilated and the door stays open, wallpapering the bathroom is perfectly fine.
Recap: How to Prepare Your Wall for Wallpaper
- Smooth the wall: Fill in holes, smooth over textures, and sand down bumps.
- Clean the wall: Use sugar soap or a water-and-vinegar mix for best results.
- Apply primer: Seal the wall to ensure the paste adheres properly.
- Final clean: Wipe the wall with a damp cloth 24 hours before installation.
- Install your wallpaper: Enjoy the transformation of your space.
Knowing how to properly prepare your walls for wallpaper is key to getting the most out of your investment. The more you do in advance, the fewer problems you’ll encounter during installation. So, when the opportunity arises to buy your dream wallpaper, make sure your walls are ready—and luck will likely follow!