Types of Textured Walls
Textured walls can add character to a room and even help reduce noise. However, wallpaper is often a better way to add visual interest! Most homes tend to feature three common types of textured walls. From a functional standpoint, Milton & King wallpaper adheres well to most of these surfaces. But aesthetically, the texture might pose an issue. Some textures can show through the wallpaper making for a less than desirable outcome. In addition, some textures might increase the likelihood of issues like mould or mildew.
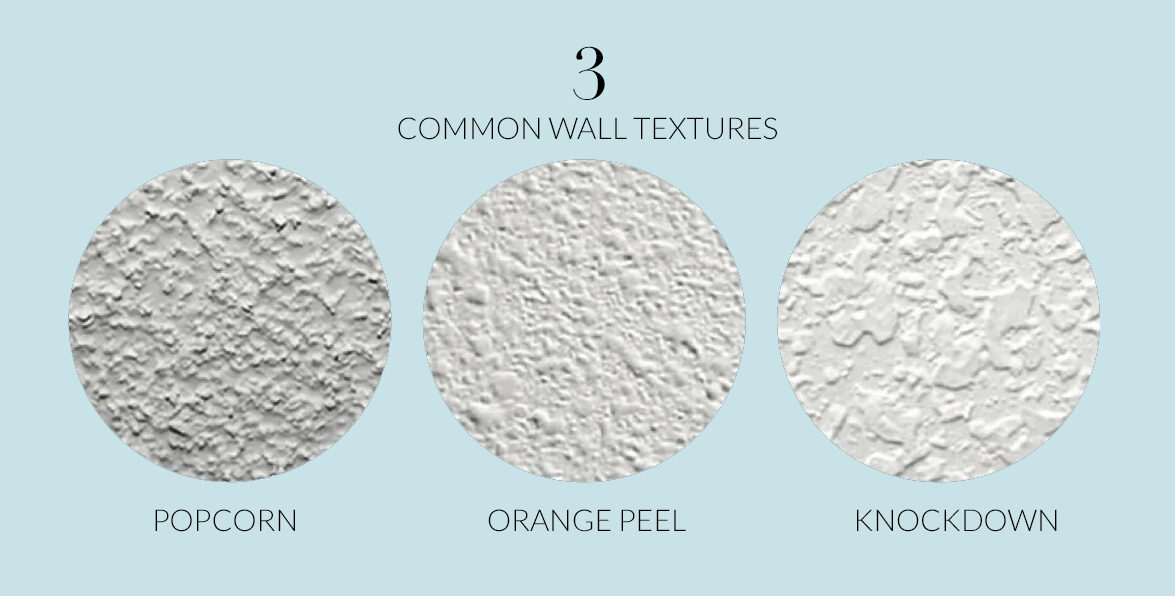
In high-humidity spaces, such as bathrooms or laundry rooms, textured walls can provide small pockets where moisture can accumulate, potentially fostering the growth of mould or fungus. This can happen behind the wallpaper, making it difficult to detect. To prevent this, use a paste with mould- and mildew-resistant properties. If you live in a dry area, this will be less of a concern, but the overall look of your wallpaper might still be affected by the texture.
Common Types of Textures:
- Orange Peel: This light texture is unlikely to cause any problems. Wallpaper can easily cover it without functional or significant aesthetic issues.
- Popcorn: A popcorn texture can negatively impact the look of your wallpaper. The rough, pointed texture may show through and could even damage the wallpaper during installation or cleaning.
- Knockdown: This texture won’t stop your wallpaper from sticking, but the raised areas might make the wallpaper appear uneven, especially with designs that should have a smooth finish, like wood panelling or wainscoting.
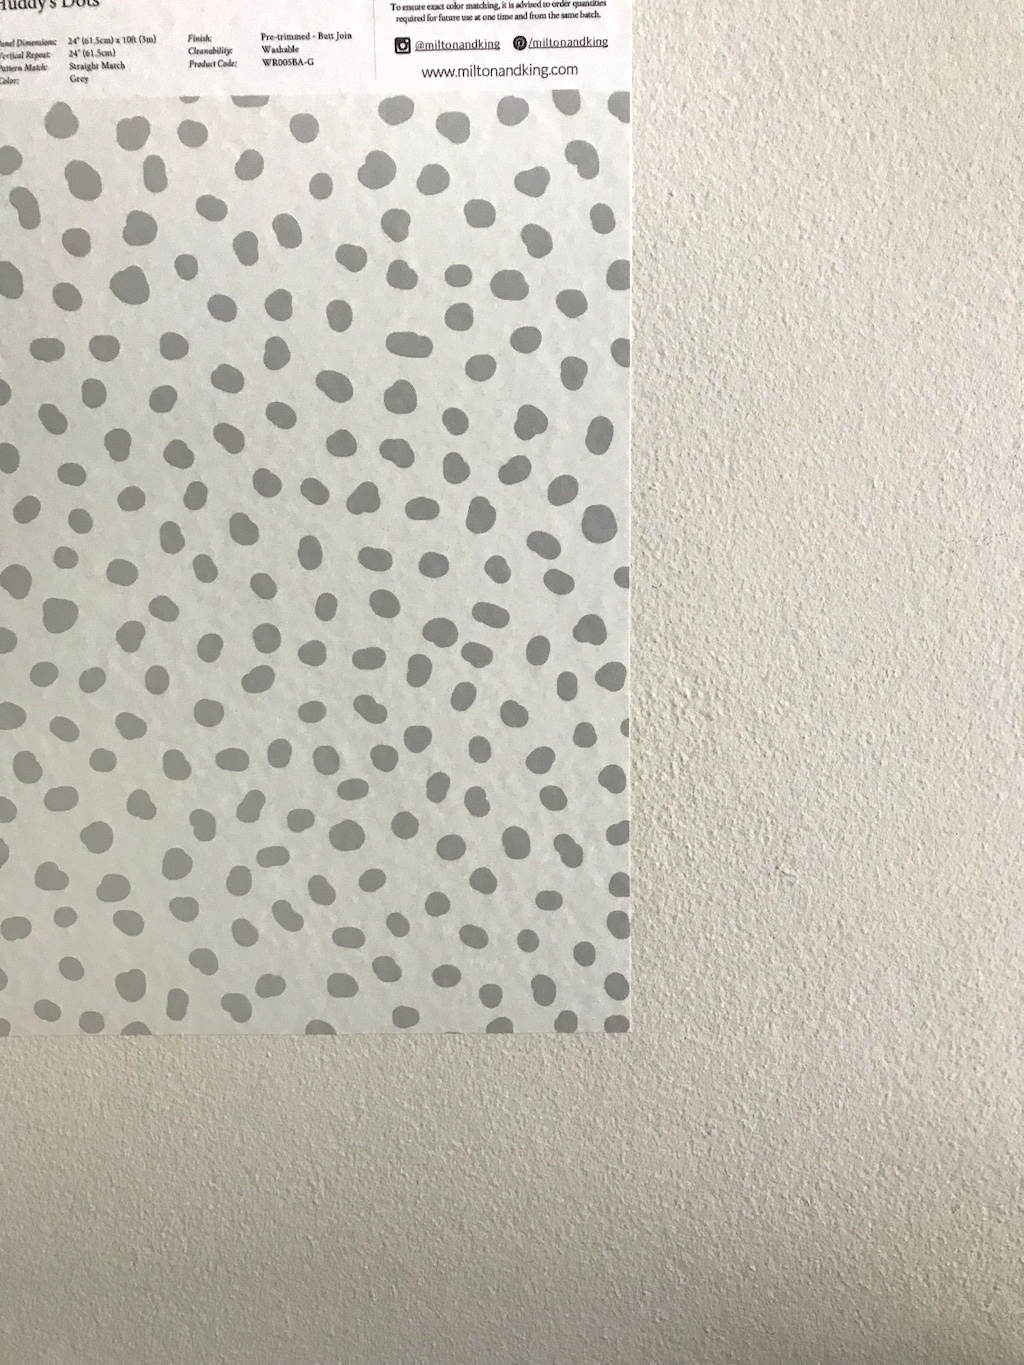
The above photo shows a sample of the Huddy’s Dots over an orange peel texture. You can see the how the bumps subtly shows through. A white background wallpaper may show bumps more than a darker wallpaper or a busier design.
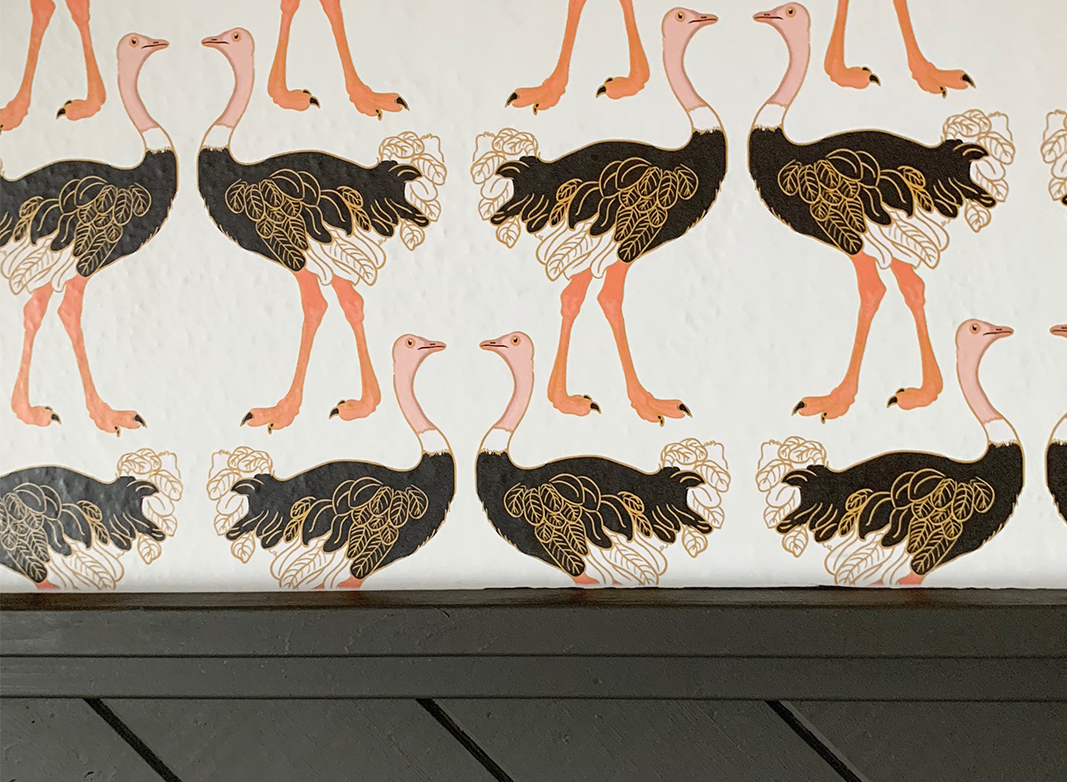
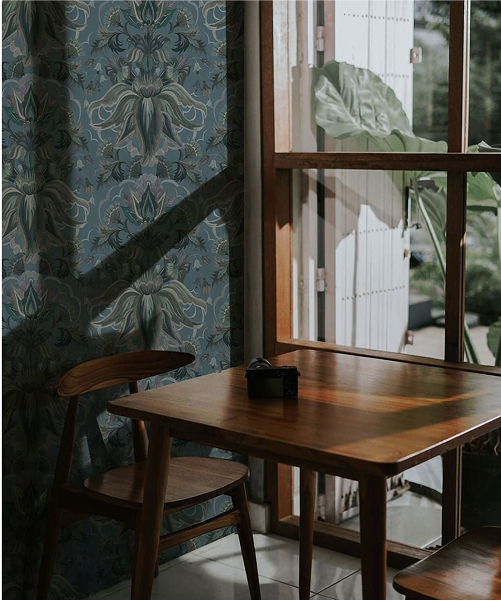
The above wallpaper shows the Ostrich Strut design over a lightly textured wall. You can see parts of the design where there appear to be little bumps. The wallpaper functions perfectly, but if this aesthetic bothers you, it may be worthwhile to flatten the wall.
Preparing a Textured Wall for Wallpaper
The ideal way to get from a textured surface to a smooth one is a process known as “mudding.” This involves applying a skim coat, or joint compound, to level the wall. Once this is done, you should sand the surface until smooth, ensuring all dust is wiped away. Then, apply a primer to seal the surface so that the wallpaper paste doesn’t get absorbed into the compound. Once these steps are completed, your wall is ready for wallpaper installation.
No matter the type of textured wall, a smooth surface will always provide better adhesion and a more polished result when wallpapering. While textured walls are generally not an issue for functionality, achieving a flat surface will enhance the look and longevity of your wallpaper. Although the extra effort required to smooth a wall might seem daunting, it will result in a much more satisfying finish, preventing future regrets. So take our advice: flatten your walls, prime them, and install a beautiful design!
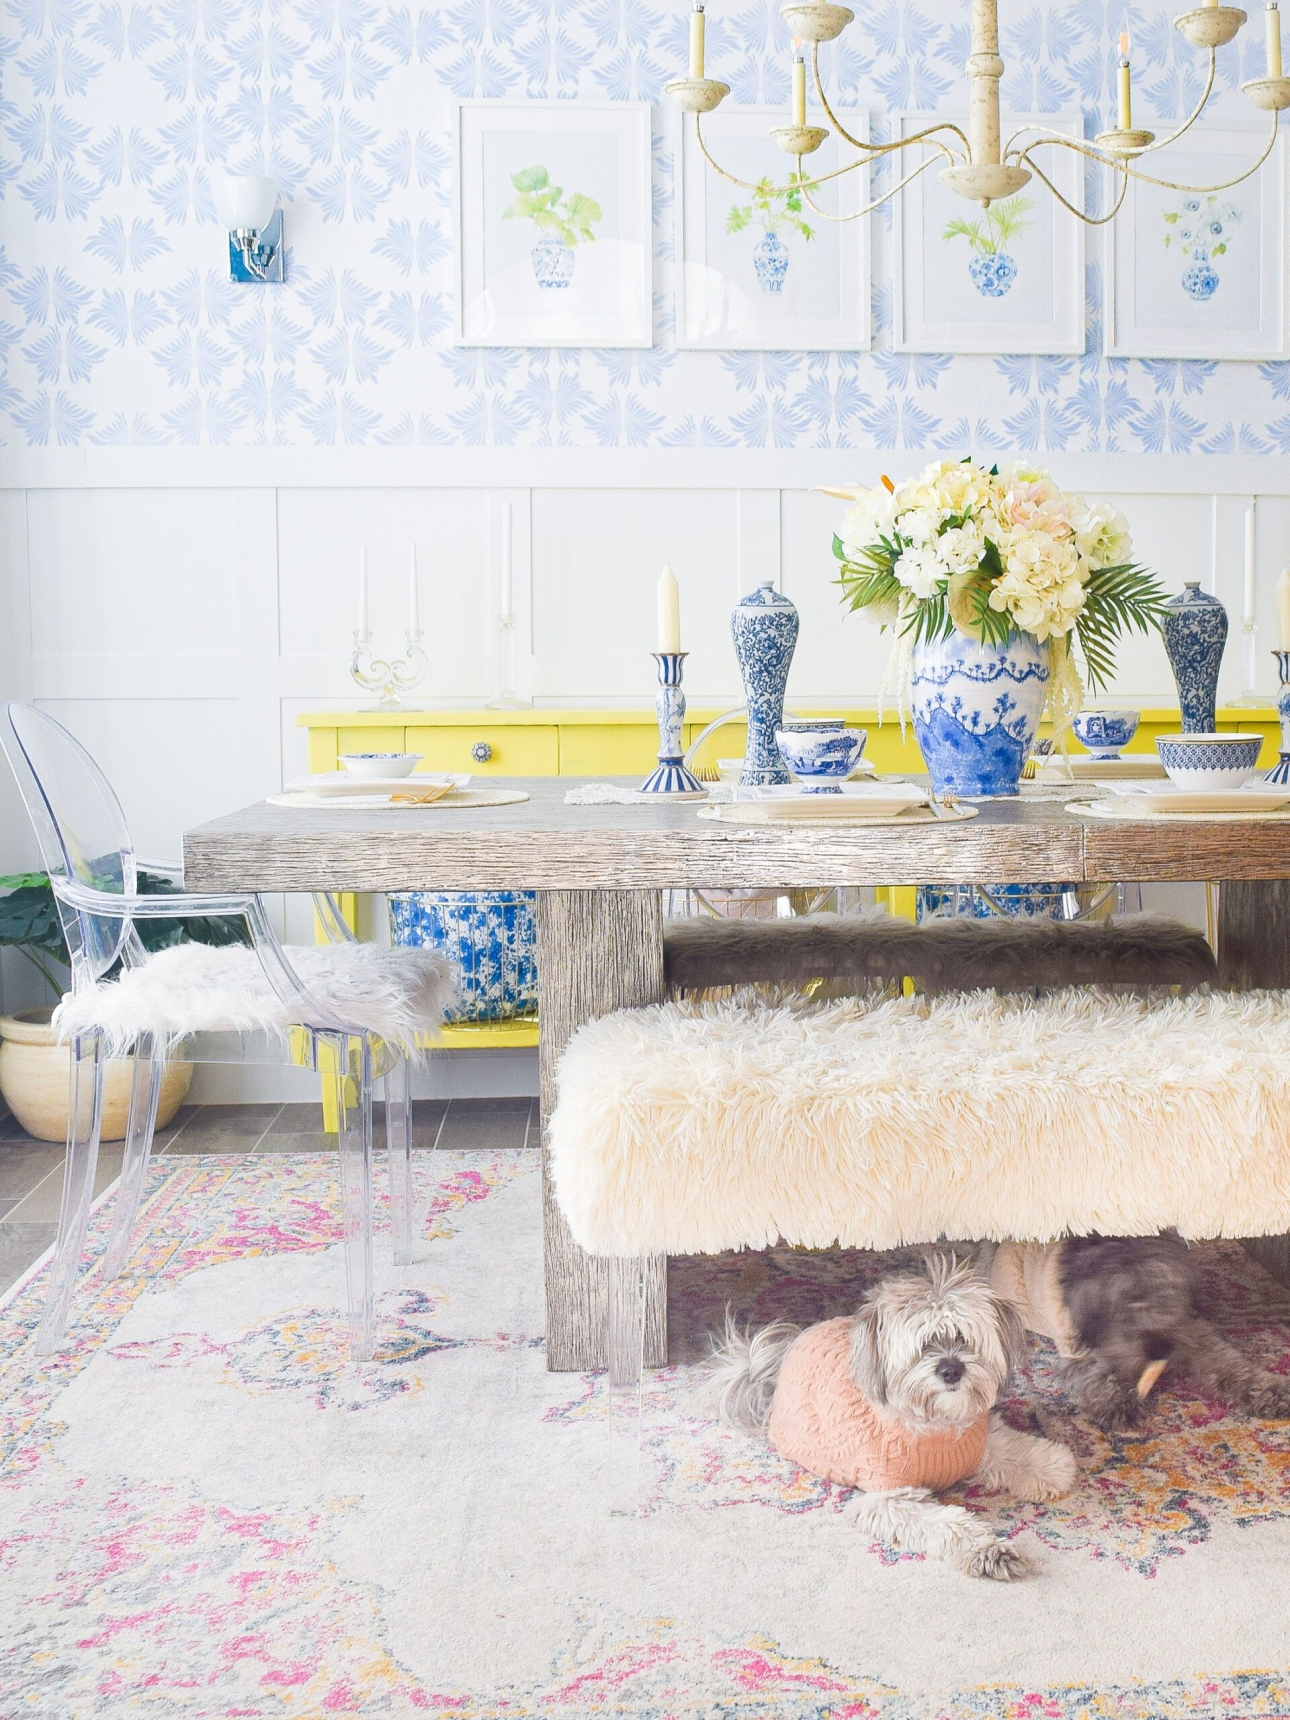
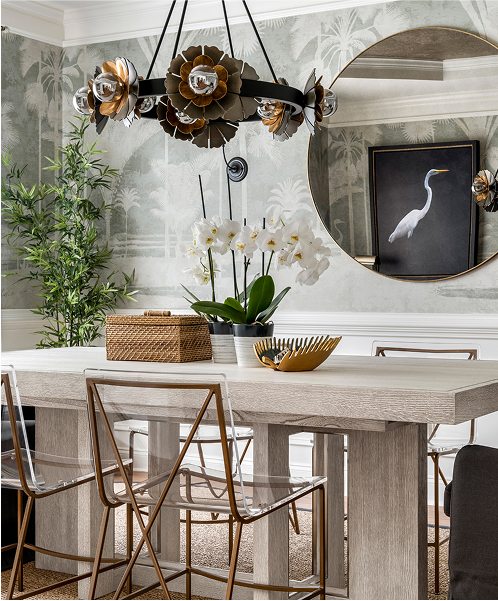
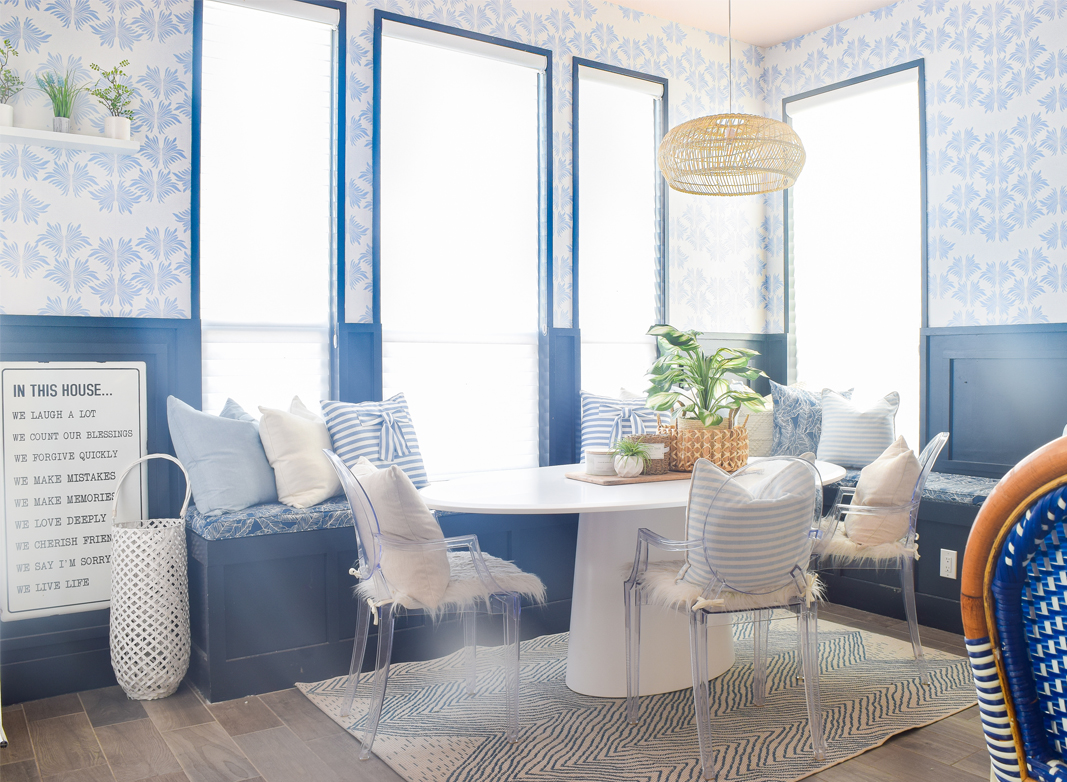
The above photo is by Merichelle Jones from We’re The Joneses using the Sarah Annie Wallpaper after having flattened her textured walls using the mudding technique.
