Why Am I Seeing Seams?
If you’re using non-woven, paste-the-wall wallpaper, it may seem straightforward: you’ve got the wallpaper and the paste. One of the great features of non-woven wallpaper is its ability to resist expansion and contraction. In the past, wallpaper had to be soaked, causing it to expand when wet and contract as it dried. Non-woven wallpaper is specifically designed to address this issue, with a blend of synthetic and natural fibres that keep it stable. Milton & King wallpapers are also designed to butt-join—meaning the edges fit snugly together without overlapping for a seamless finish.
So, if the wallpaper isn’t at fault, could it be the paste? While the paste plays a significant role, it’s not the sole culprit. There is a wide variety of pastes, some are watery while others are designed to dry faster than others. Brands like Fresco and Rustoleum offer quality options, but how well the paste adheres can depend on wall preparation and the type of paint used. Seams are often the result of a combination of these factors, so let’s take a closer look.
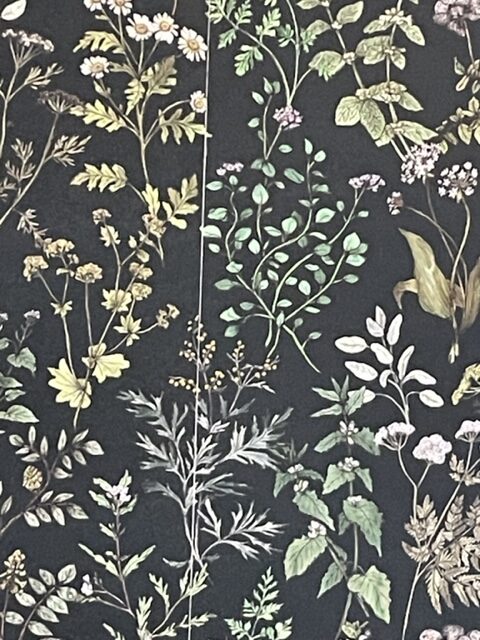
Tack and Wall Preparation
Wallpaper paste has a property known as “tack,” which refers to its stickiness. A paste with good tack will keep the wallpaper firmly in place. You’ll also want to ensure you can get a good “glide” from it, allowing you to guide the wallpaper exactly where you want it. Both properties are crucial for achieving a smooth finish.
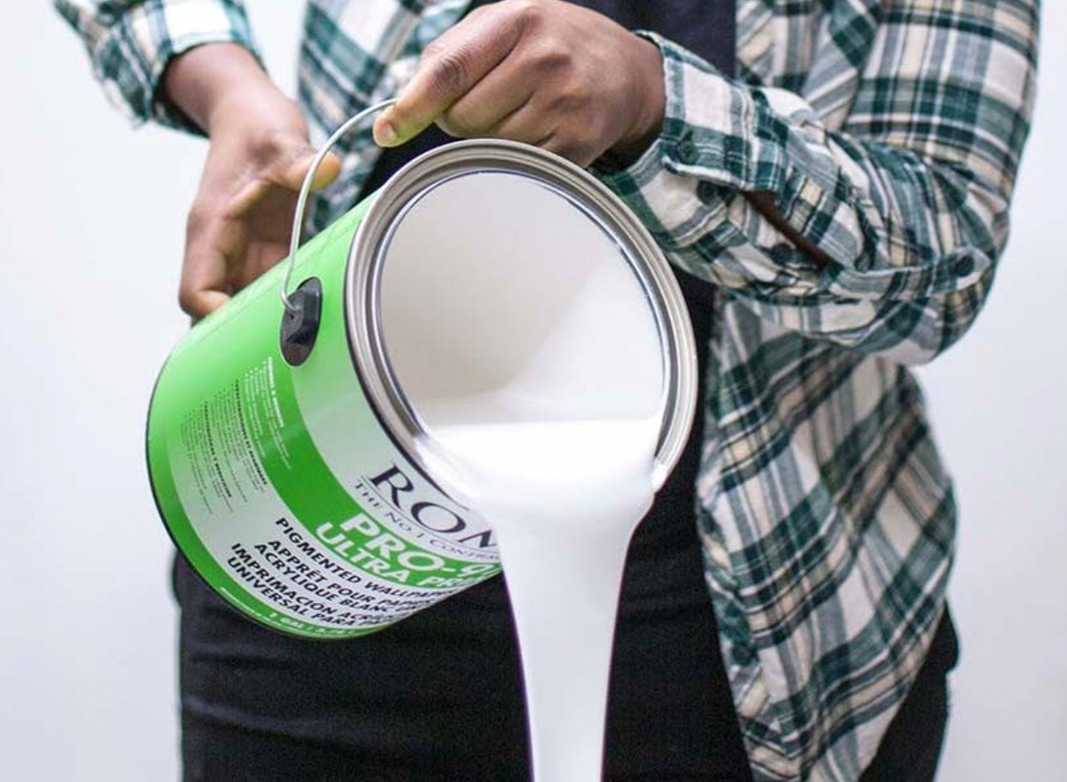
Proper wall preparation is key to minimising seams. Applying a coat of primer can enhance paste effectiveness in two ways. First, it seals the wall, preventing any moisture from the paste from absorbing. Additionally, preparing the wall before wallpapering improves the adhesive’s effectiveness, as the primer forms a protective barrier that minimizes paste waste.
Secondly, a smooth surface helps the wallpaper stick more securely. Another thing to consider is the kind of paint applied before wallpapering. While many paints contain built-in primer, high-gloss paint tends to create a slicker surface compared to matte finishes.
The Importance of Smoothing
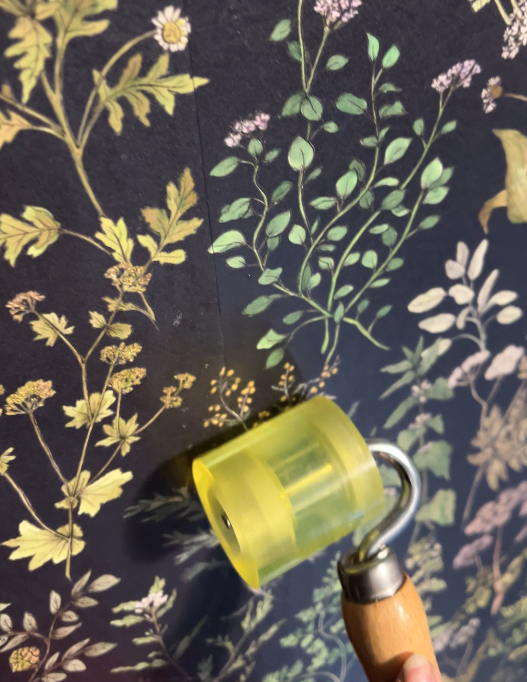
Smoothing your wallpaper is vital—not just for removing air bubbles but also for ensuring a strong bond. If you don’t apply enough pressure during installation, the wallpaper may not adhere properly as it dries since there won’t be enough tack to keep it up long-term. Think of it like applying tape to a package; you wouldn’t plop the tape on the box and hope for the best. Rather, you smooth your hand across the taped box and apply pressure to increase the tape’s grip. A seam roller can be a great tool to help apply a good amount of pressure along the seams, enhancing the paste and paper’s grip where you need it most.
To prevent seams from showing, remember to:
- Prepare your wall with a suitable primer.
- Use a high-quality paste with good tack.
- Apply firm pressure while smoothing out the wallpaper, especially at the edges.
Temperature Effects on Wallpaper
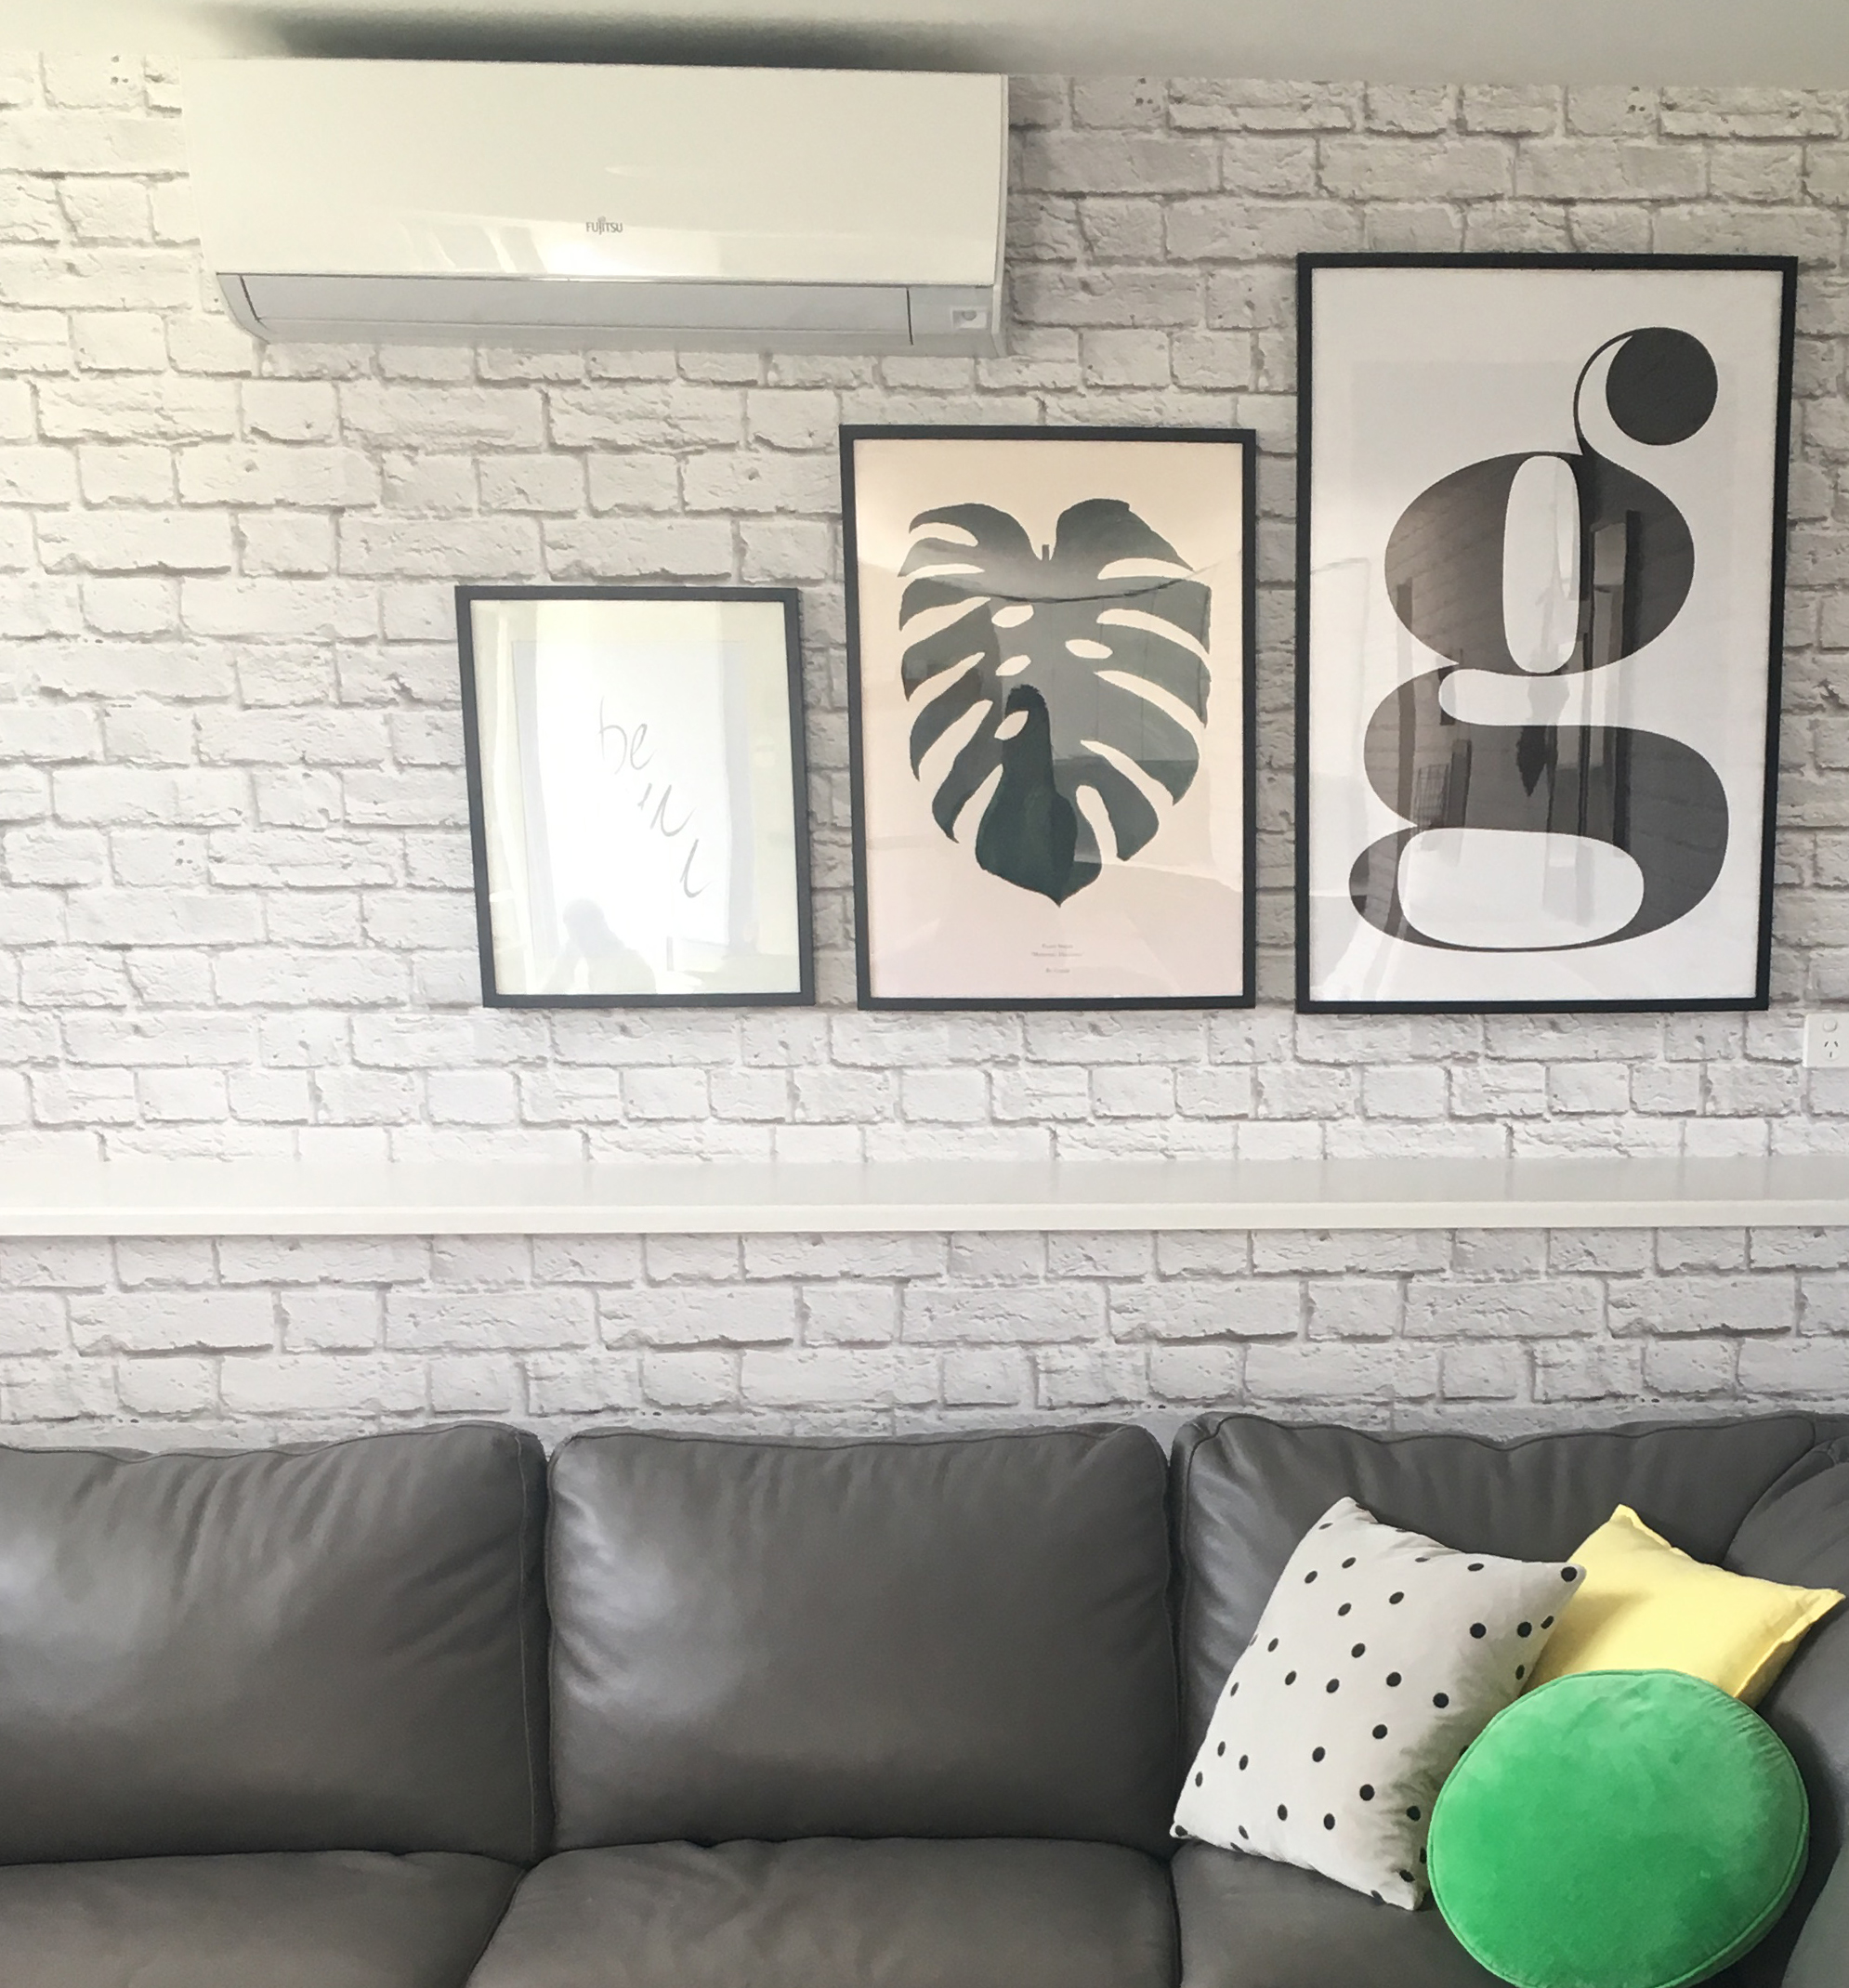
Temperature changes can affect the drying process of wallpaper. If you install it near an air conditioning unit or a heater, or in direct sunlight, some sections may dry faster than others. This uneven drying can lead to seams becoming more visible. To counteract this, try to let the wallpaper dry naturally, avoiding direct heat or cold for at least 48 hours post-installation. Proper smoothing and pressure will also help mitigate these issues.
Preventative Measures For Avoiding Wallpaper Seams
If you’re new to wallpapering, don’t worry if things don’t go perfectly. There are still ways to hide seams. If you’ve chosen a dark wallpaper on a light wall, the seams will be more noticeable. Matching the wall colour to your wallpaper can help camouflage any imperfections. While most primers are white, some can be tinted, allowing you to get closer to your wallpaper’s colour. A darker wallpaper on a dark wall will make seams less obvious.
Another technique, known as banding, involves painting stripes on the wall where the wallpaper seams will be. Measure carefully to ensure your painted stripes align with the edges of the wallpaper panels. This can be a clever way to blend the seams into the background.
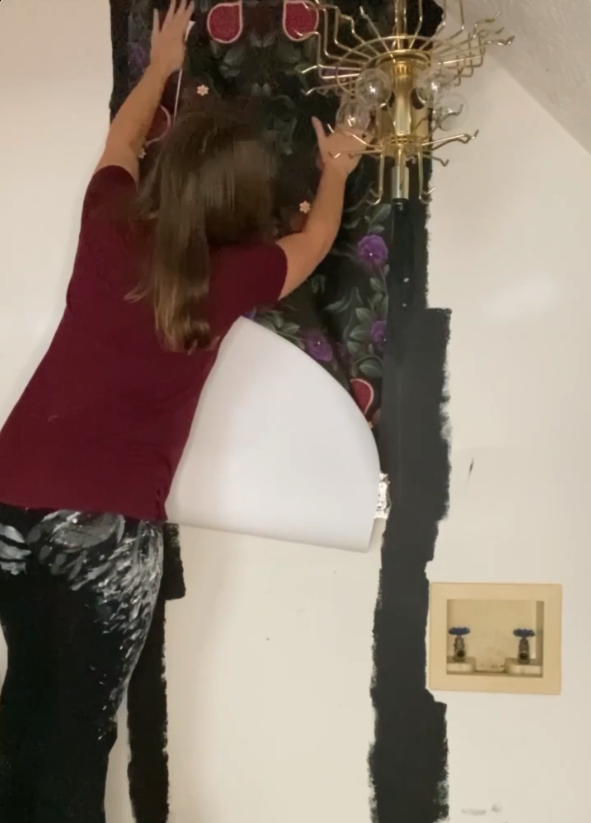
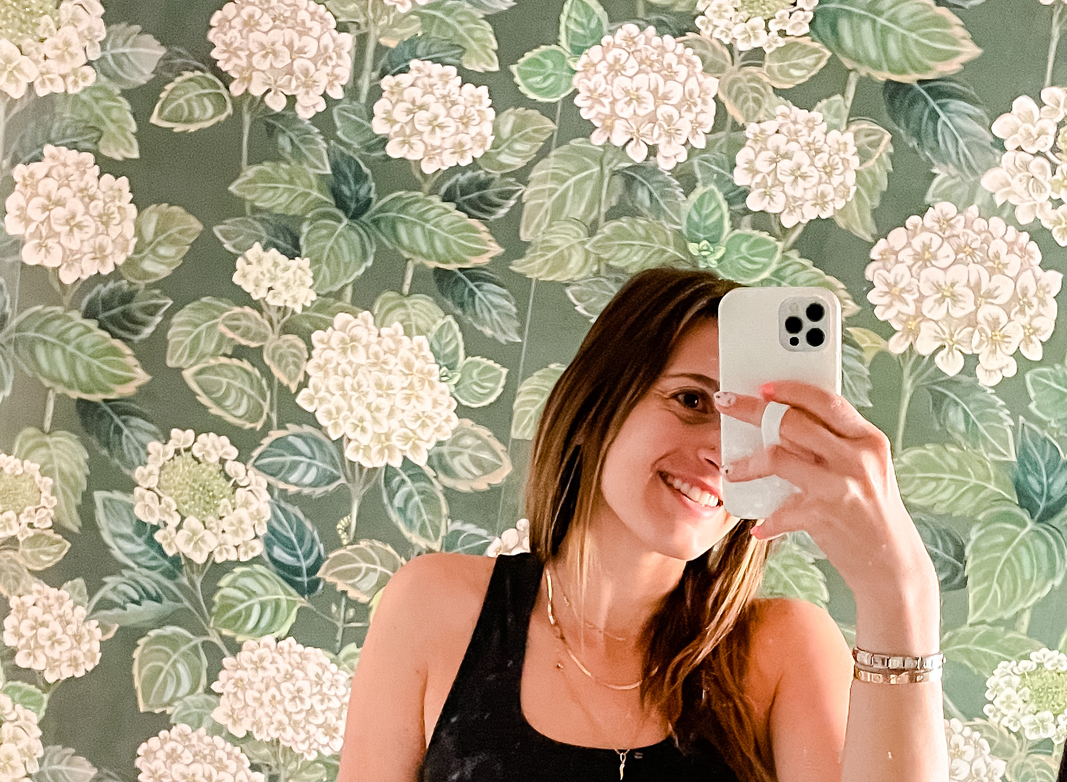
Image above of Lauren Dalstrup using a banding technique as she applies her Figs & Strawberries wallpaper to avoid the appearance of seams.
For dark wallpapers, remember that most are printed on a white base, so the white edges might still show if they’re not perfectly aligned. A handy trick is to take a crayon and colour the edge of the wallpaper roll before hanging it. This simple step can help disguise any white lines running down the paper. Jenna demonstrates in the video below how to use a black crayon to color the edge of her wallpaper prior to installation. Notice that she also uses a seam roller to put that extra bit of pressure at the edges.
Fixing Wallpaper Seams After Installation
If you’ve followed all the steps but still see seams, don’t despair. Katie Hunt, a renowned wallpaper installer from several HGTV type shows, suggests using watercolour pens. You can apply the pen to the seams and then quickly wipe it away with a damp microfibre cloth. The colour will stick to the wall while coming off the wallpaper, effectively hiding the seams. Always test in a small, hidden area first to ensure the best results.
Saul from King Reyes Wallpaper Installers based in Dallas, Texas fixes the appearance of wallpaper seams by using a water color marker in a similar color to the wallpaper background to color in the seam. Once he immediately wipes it, it comes off the wallpaper but remains on the portion of the wall peeking through. It’s a very effective way of minimizing the appearance of seams if you’ve done a quick installation job.
At the end of the day, you want your wallpaper to look stunning. Seams can detract from its appeal, but with the right preparation and techniques, you can achieve a flawless finish. Here’s a quick recap to help you avoid those seams:
Options to Minimise Wallpaper Seams:
- Use a primer to match a colour closer to your wallpaper’s background colour or try the banding technique.
- Be generous and even with your paste application.
- Colour the edge of dark wallpapers with a crayon before hanging.
- Apply firm pressure while smoothing and use a seam roller. Don’t forget to clean up any excess paste from smoothing!
- Allow your wallpaper to dry naturally for 48 hours in a well-ventilated area.
Happy wallpapering!
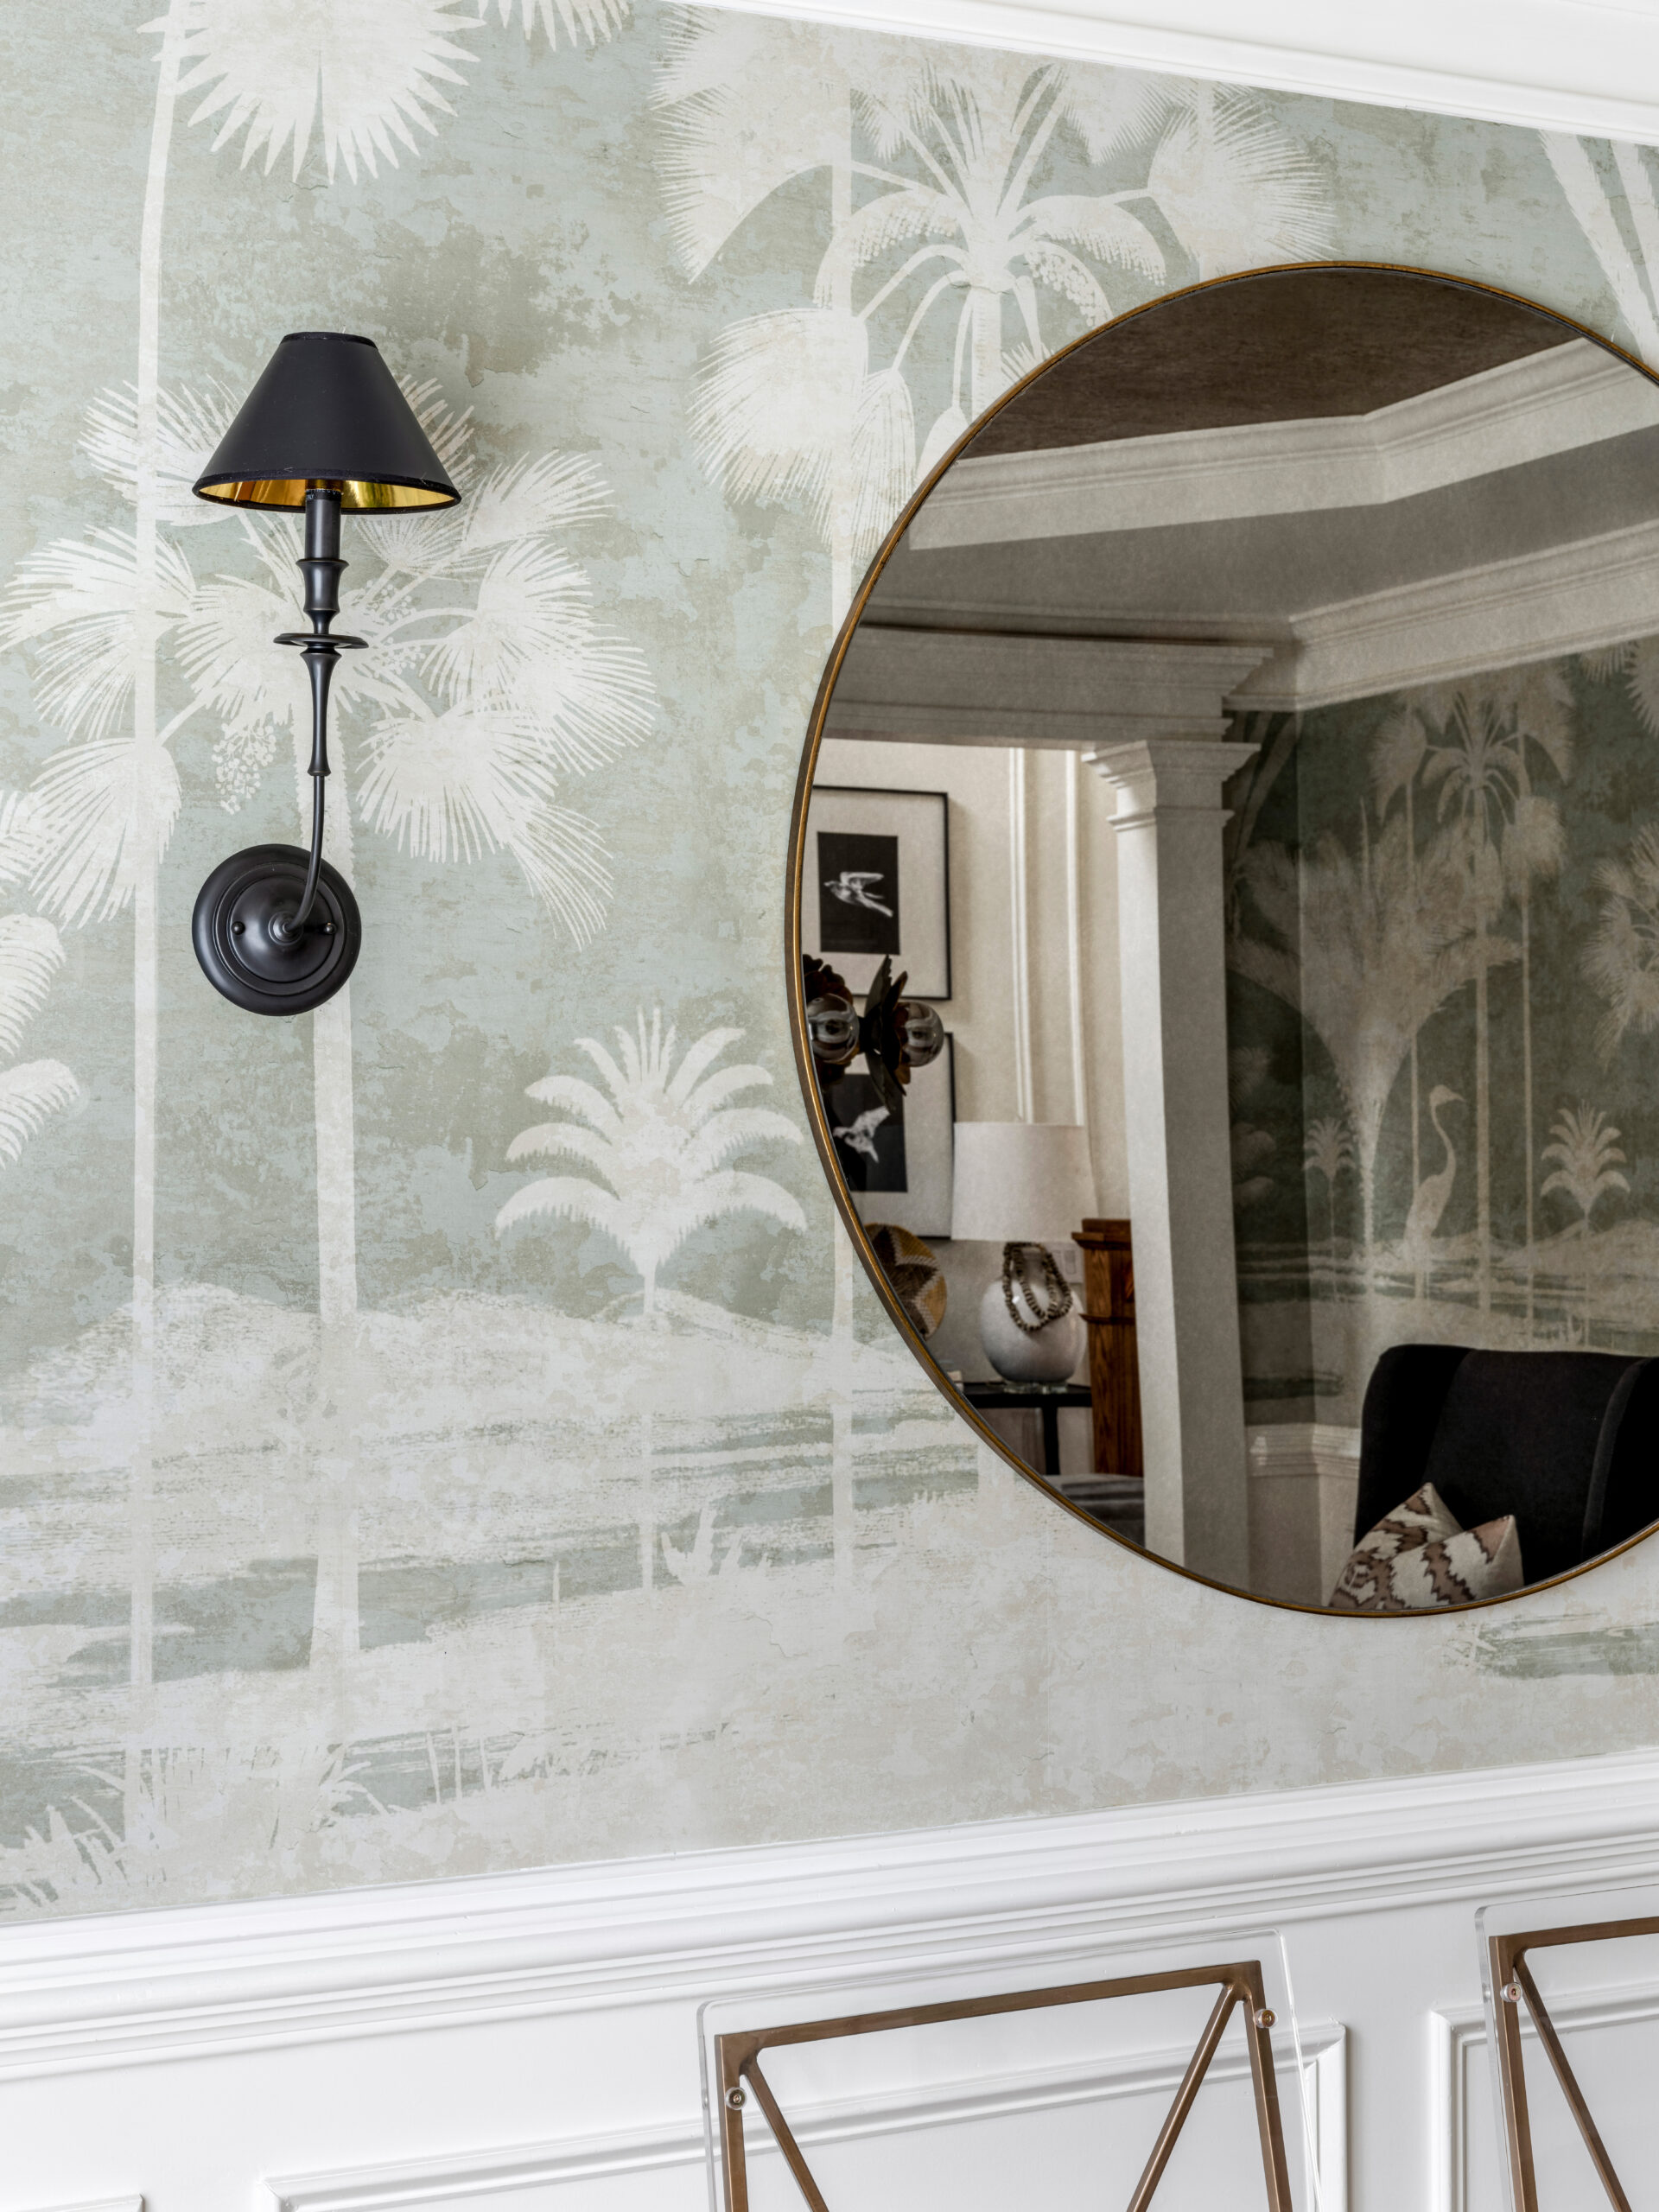
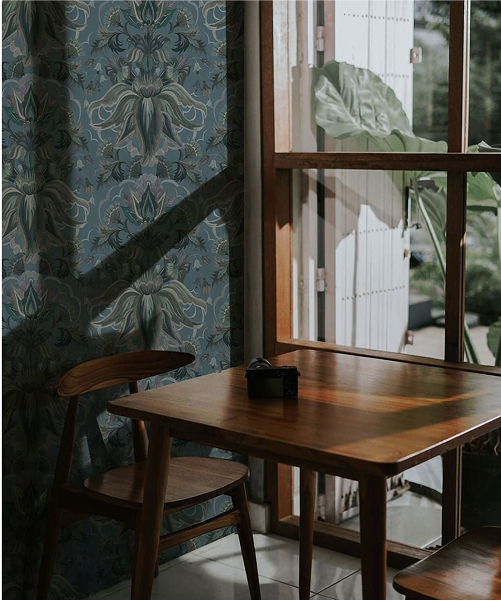
The above image of the Shadow Palm Mural provided by Erika Ward show seams that are hardly visible.

